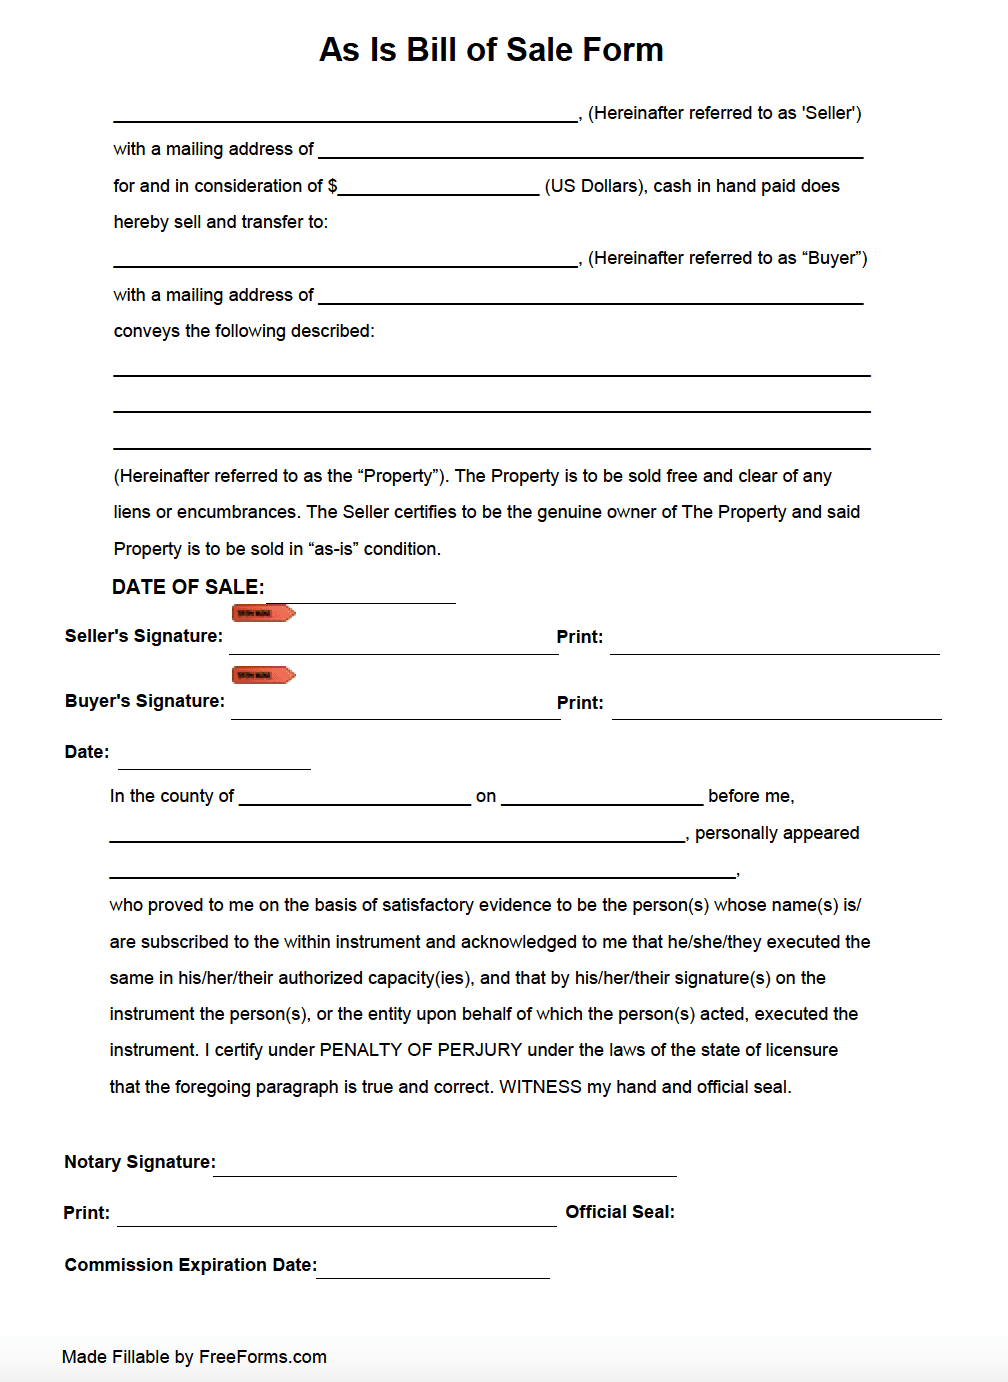
As Is Bill of Sale Form

20,866 Downloads

An As-Is bill of sale form manifests an authentic material account of the sale of an item in a stipulated condition for an amount of money. The exchange is documented in paper form to ensure the buyer thoroughly understands the circumstances surrounding the state of the item at the time of sale and agrees with the language before following through with the transaction. The paperwork includes facts relevant to the buyer, seller, sale item(s), purchase price, and signatures upon execution.

Why use an “As Is” Bill of Sale?

When purchasing an item and incorporating a bill of sale, there are three options of which to refer to the condition of the item being sold: New, used, or “as is”. Employing the use of “As is” in the document indicates an acceptance of the item being sold in its present state at the time of sale. This entitles no warranty to the buyer for any preexisting faults or defects and indemnifies the seller for any future issues that may occur. Because of the language expressed in the form, it is critical that the buyer thoroughly inspect the unit involved in the sale before executing the agreement.

When to Use an “As Is” Bill of Sale

Integrating an “as is” bill of sale form to create a formally written transcript of the exchange for an item is a secure way to protect yourself should there be any buyer’s remorse. The simple clause verbally demonstrates an agreement to receive the property in the current condition, providing no warranty. This provision makes for ideal use involving the sale of many objects that do not have a unique bill of sale form for individual use. For example, many states obligate a seller to use a particular government form catered specifically to a motor vehicle or a vessel, in which case an “as is” form would not be adequate. If there is any question to whether or not this form is sufficient, check your state’s government website to inquire about form specifics for your sale item.

Filling Out the As Is Bill of Sale Form

Step 1 –  Download the Adobe PDF file and move on to the following steps:

Step 2 – Seller Information – Fill in the first two lines as follows:

  • Seller’s Name
  • Sellers Address

Step 3 – Purchase Price – Insert the dollar amount of the purchase price the item is to be transferred for.

Step 4 – Buyer Information – Complete the next two lines applicable to the buyer as follows:

  • Buyer’s Name
  • Buyers Address

Step 5 – Utilize the following three lines to describe the sale item in detail, including identifying marks, manufactures, color, and associated serial or VIN.

Step 6 – After contracting a notary official to supervise the event, and the notary is present, you can finalize the portion of the document allocated as follows:

  • Date of Sale
  • Seller’s Signature
  • Seller’s Printed Name
  • Buyer’s Signature
  • Buyer’s Printed Name
  • Date of Endorsements

Step 7 – The notary can then be instructed to complete the last segment of the form:

  • County of License
  • Date
  • Notary’s Printed Name
  • Seller’s Printed Name
  • Notary’s Signature
  • Notary’s Printed Name
  • Notary’s Commission Expiration Date
  • Affixed Notary Seal